 HextaUI
Make your React app operable by AI agents with UI SDK and WebMCP
Let AI agents read and use your React UI with Vercel's UI SDK: createAgent, snapshot, act, allow, source agent, definePrimitive and WebMCP registerTools.
Preet Suthar · · 10 min read
- AI
- React
- UI SDK
- WebMCP
Most AI agents use a web app the way a person with a slow screen reader would. They take a screenshot or read the DOM, guess which element is the "Region" dropdown, click it, read the page again, and click an option. Each round trip costs tokens and time, and each guess can be wrong.
UI SDK, which Vercel Labs published on 12 November 2026, takes another route. Its components register with a bridge that tells an agent what is on the page, what state each component is in and what it can do, then runs those actions through the component's own API. The same bridge can publish its tools to an agent built into the browser through WebMCP.
This post builds a small settings page in React, connects an agent to it, and goes through the parts of the API that matter: createAgent, snapshot(), act(), the allow callback, source: "agent" in change callbacks, a custom component built with definePrimitive, and registerTools. Every output below is copied from a run in a scratch app with React 19.3, Vite 8 and @ui-sdk/react and @ui-sdk/core at 0.1.0-beta.1. UI SDK is in beta, so names and behavior may change.
How the bridge works
Your React app
- Input
- Select
- Switch
- Your definePrimitive parts
The bridge: createAgent()
snapshot()lists components, state and actionsquery()finds components and their choicesact()runs steps through each component's APIallowapproves or refuses each step
Your own agent
Tool definitions from agentTools, wired to your model SDK
A browser's agent
registerTools() publishes the tools on document.modelContext (WebMCP), with a second allow
Every change an agent makes reaches your change callbacks with details.source === "agent", and details.cancel() can still refuse it.
The bridge is an object that createAgent() returns. UI SDK components on the page register with it as they mount. It has three methods an agent uses:
snapshot()returns every registered component with a shortreflikec3, its kind, its accessible label, its state and the actions it accepts right now.query()finds components by text or lists the choices inside one, such as the options of a Select.act()runs a list of steps in order. Each step names a component and an action, likesetValue, and the bridge calls that action on the component.
agentTools describes these three methods as tool definitions with JSON Schemas, for your own model loop. registerTools() registers them with the browser instead.
The important design choice is that act() doesn't simulate clicks. It calls the same API a controller would, so the change goes through the component's change callback with a source of "agent". Your app sees agent changes in the same place it sees a person's, and can refuse them there.
Vercel's benchmark
Vercel's docs include one benchmark. Agents renamed a project, updated members and notification settings, then saved. One agent used browser tools on a page built with another component library. The other used the agent bridge on the same screen built with UI SDK.
- Tool calls−69%
- 165
- Text read (characters)−83%
- 39.8k6.8k
- Time−61%
- 41 s16 s
- Cost−56%
- $0.073$0.032
Source: Vercel's UI SDK docs. Medians of three runs per approach, Sonnet through Claude Code. Not reproduced by HextaUI.
These are Vercel's numbers, not mine. They are medians of three runs per approach, both agents used Sonnet through Claude Code with the same task and system prompt, and every run completed the task. "Text read" counts characters returned by the tools. I didn't reproduce the benchmark. For scale, a full snapshot of the demo below is 729 characters of JSON. The page's HTML in Vite's dev server is about 28,000 characters. Playwright's ARIA snapshot of the same page was shorter still, about 370 characters, but it lists roles and names only. It doesn't say which actions each control accepts, which choices a closed Select holds, or which button needs a person. That extra structure is what saves an agent its follow-up calls, not raw size.
Set up the demo
Start from Vite's React and TypeScript template and add the two packages:
Create the bridge in its own module. Import it in main.tsx before the app renders, so it sees components as they are created. The docs say it also finds components that are already on the page, so you can create it later, when an assistant opens.
The two allow callbacks come up again below. Object.assign(window, { agent }) puts the bridge on window so you can try it from the console.
The page is a settings form with a text field, a Select, a Switch, a custom seat counter and a Save button. This excerpt drops the classes, the layout and the log component, and keeps the parts the agent cares about:
record appends a line to a log on the page, so you can see who changed what. Labels matter here more than usual. The bridge names components by their accessible name, so FieldLabel, SelectLabel and the wrapping <label> are what let an agent say "Region" instead of guessing.
Read the page with snapshot()
With the page rendered, agent.snapshot() returned this:
A few things to notice:
- There is no
c2. The Field registered too, but a Field only shows in the snapshot while it has errors, since its input already carries the label. The gap in refs is harmless. - The Select lists its items while closed, because the demo passes
items. Without them,query({ within: "Region" })reads the choices, and the bridge may briefly open the list to do it. - The Save button carries the
confirmtext fromdata-agent-confirm, so the agent knows before it tries that a person has to approve it. seat-stepperis my own component. It listsaddandremovebecause I said so in its definition, which is covered further down.
Change things with act()
One act() call can carry every step the agent already knows. Steps name components by ref or by label, and the bridge matches whole words regardless of case and accents. An item can be named by its label too:
The result reports each step's changes and the current value of every field:
"North America" was resolved to the item's value, north-america. Because values comes back with every call, an agent doesn't need another snapshot to check its work.
Errors are written for a model to read. Two I hit on purpose:
A failed step stops the call, and earlier steps stay applied. There is no rollback.
One matching rule surprised me. A step with ref: "Name" changed "Project name", because labels match by whole words. That is documented, and the bridge refuses a name that matches more than one component, but give components distinct labels if an agent will be guessing at them.
Permissions: allow, confirm marks and cancel
There are three places to say no, and they do different jobs.
allow on createAgent sees every step before it runs, with its ref, component, label, action, args and confirm. Return false to refuse, or a promise for your own confirmation UI. My policy refuses every clear, and the result (with values left out here) is:
data-agent-confirm marks a control that always needs a person, whatever the rules say. Without an allow callback, a step on it fails with a "Needs a person" message. With one, step.confirm carries the sentence so you can show it. My allow passes it to window.confirm, and in the run the dialog read "Saves the settings for every member of Atlas" before Save was pressed. The mark covers everything inside its element, so you can put it on a whole form or dialog.
Your change callback gets the final say on a value. The Region Select cancels an agent's request for Asia Pacific:
Note that ok is true. The bridge ran the step, and the callback cancelled the change, so the step reports result: false and the value is unchanged. The docs say this plainly: ok: true doesn't mean every value was accepted. Check changes and values.
There are also two attributes for what an agent can see. data-agent-hidden removes a region from snapshot and query. data-agent-secret shows a field with its value as "[redacted]". Password, card and one-time-code fields are treated as secret without a mark.
Tell agent changes apart with source
Every change callback in UI SDK receives details.source: keyboard, mouse, touch, pen, virtual, programmatic or agent. After the run above, the demo's log looked like this:
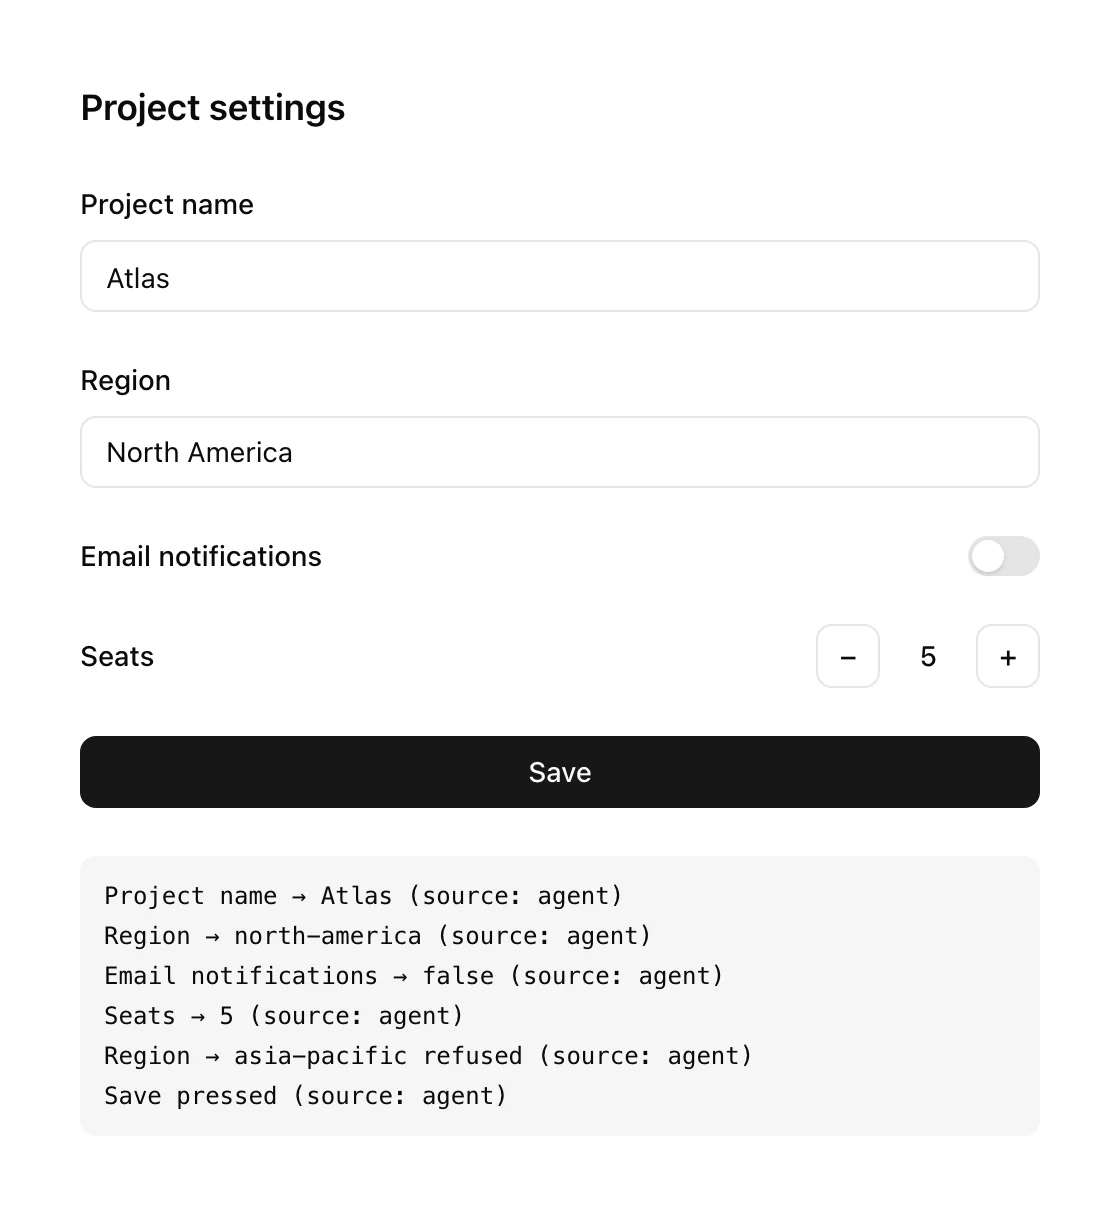
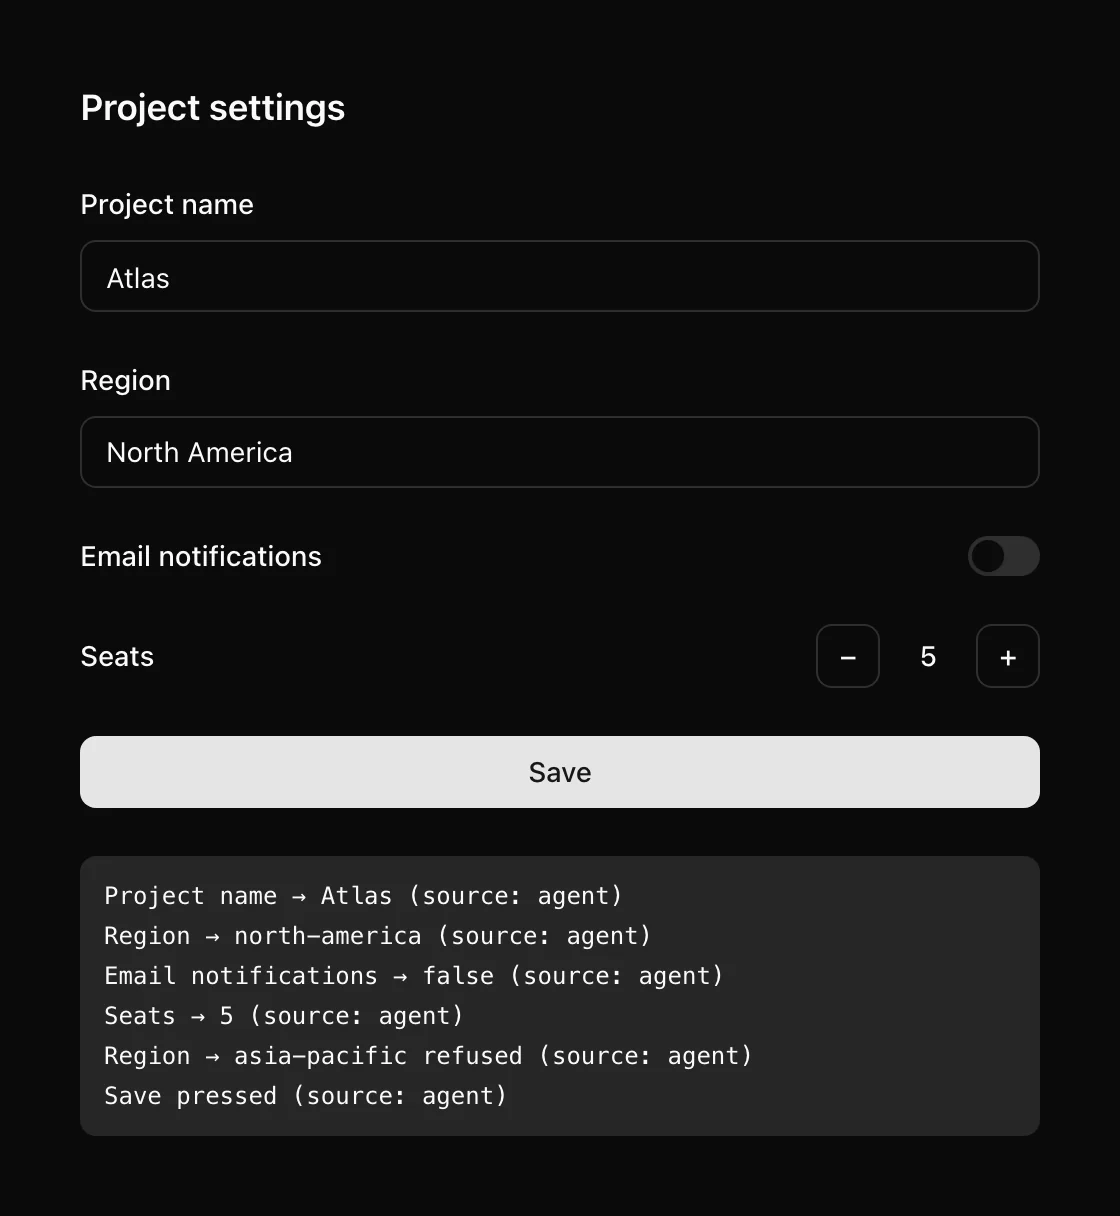
Clicking the plus button by hand afterwards logged Seats → 2 (source: mouse). That one field is enough to build an "edited by your assistant" badge, to send agent changes to a review queue, or to skip analytics events that a person didn't cause.
One caveat from the docs: a Button handler that awaits something and changes state afterwards reports "programmatic", because the press is over by then. Wrap the later change in withSource(source, …) from @ui-sdk/react/observe to keep the agent as its source.
Your own component: definePrimitive and the agent key
Built-in components join the bridge on their own. Components you write with definePrimitive join it too. Here is the seat counter from the demo, with an agent key that names the two methods an agent may call:
createParts(seatStepper, { root: "div", remove: "button", add: "button" }) from @ui-sdk/react/primitive turns it into React components. The root takes aria-labelledby like any element, which is where the snapshot's "Seats" label came from.
Why the agent key matters: without it, the bridge guesses actions from method names. It recognises set followed by a capital letter, like setValue, and verbs such as open, toggle and clear. It would not guess add or remove, so the stepper would show no actions. With the key, only the listed methods are offered and anything else is refused, as the keydown error above showed. The docs ask you to put agent last, after slots, so TypeScript has read the API by then, and they mark the key as experimental.
Because the change goes through createChange, the app's onValueChange still sees source: "agent" and can cancel. When the agent asked to remove five seats from three, the value clamped to 1 and the remove button became disabled, exactly as a person's clicks would have left it.
Two notes from writing it. Attribute values in attrs are strings, so disabled is "" or undefined, not a boolean; TypeScript caught that. And the Core docs say never to put role in attrs and to use the slot's role key, while one Core example does put role in attrs. I used the role key.
Register the tools for WebMCP
registerTools(agent, { allow }) publishes snapshot, query and act on document.modelContext, the browser API from the WebMCP proposal. A browser that provides it can hand the tools to its built-in agent. In a browser without it, registerTools does nothing.
The headless Chromium I tested with doesn't provide document.modelContext, so to see what gets registered I installed a stand-in object before the page loaded. The three tools arrived with these annotations:
untrustedContentHint is there because tool results carry page text that users wrote, like a name in a table row. The tool descriptions also tell the model to treat that text as data, never instructions. It's a hint, not a guarantee, so keep anything risky behind allow and data-agent-confirm.
The allow on registerTools is required, and it runs after the bridge's own allow, only for steps that came from the browser's agent. That gives you two policies: one for the agent you wrote, and a stricter one for an agent you didn't.
- Find the target
refA ref like c3, then a label, an item, then a kind. - Bridge allow
createAgentYour policy for every caller. False stops the call. - WebMCP allow
registerToolsA second policy, only for the browser's agent. - Component API
setValueThe same method a controller would call. - Your callback
details.sourceSees"agent"and can callcancel().
UI SDK's guide walks through using the tools from the ChatGPT desktop app's built-in browser, where site tools have to be enabled and only some models and workspaces support them. I didn't test that path. Check typeof document.modelContext?.registerTool in the browser you target. It returns "function" where registration is supported.
A beta finding: a refusal blamed on the person
In my setup, the bridge's allow asked the person to confirm Save, and the WebMCP allow refuses every press. When I called the registered act tool to press Save, the confirm dialog appeared, I accepted it, and the WebMCP policy then refused the step. The error said:
The person said yes. The code said no. The step was refused, which is correct, but a model reading that message could tell the user they declined something they approved. It also asked the person before checking a policy that was always going to refuse. If you combine confirm marks with a WebMCP allow that refuses presses, refuse earlier: check step.action in the bridge's allow too, so the person is never asked. I'm reporting this against 0.1.0-beta.1 and expect it to change.
When this is worth it
The bridge earns its place when an agent is part of the product: an assistant panel that fills forms, a support tool that changes settings for the user, or a browser agent you want to work well on your site. It is also useful in tests, since act() gives you a typed way to drive components without selectors.
It is not a reason to migrate a stable app on its own. The bridge only sees UI SDK components, so a page that mixes libraries gives the agent a partial view. And it is a beta, with the agent key and the history helpers marked experimental.
If you build on it, a few habits keep agents useful and safe:
- give every control an accessible name, because that is what the agent types;
- pass
itemsto Selects and Comboboxes so choices are readable while closed; - refuse in
allowwhat an agent should never do, and mark what needs a person withdata-agent-confirm; - validate values in change callbacks, because
setValuecalls the API directly and skips your keyboard and pointer handlers; - read
valuesfrom everyact()result instead of trustingok.
HextaUI is working on a styled UI SDK flavor of its components, so these are the patterns I'm building around. For how UI SDK compares with Radix and Base UI beyond agents, see UI SDK vs Base UI vs Radix. For styling the components with Tailwind, see Styling Vercel's UI SDK with Tailwind.